You Can Make These Easy Valentine Cards!
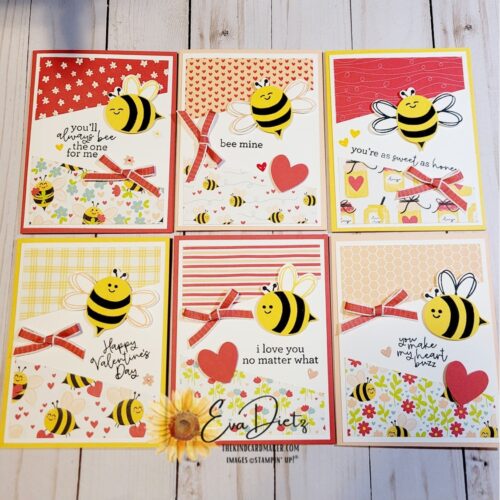
Are you looking for a new technique to try? Try my Cut, Slice, and Flip Technique to whip out these six easy Valentines Cards before February 14th, using the Bee Mine Collection from the Jan.-April 2024 Mini Catalog! (Access the Mini Catalog in the sidebar, on pages 8-10.) This set of cards is so fun to make, especially if you think assembly line, and do one step times six, then move on to the next step, and so on.
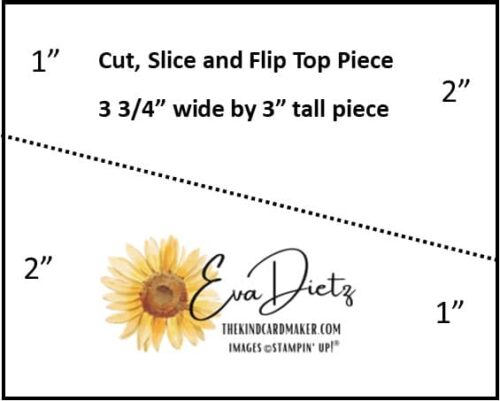
Cutting Diagram for This Fun Technique!
Project Details:
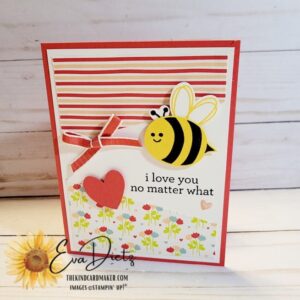
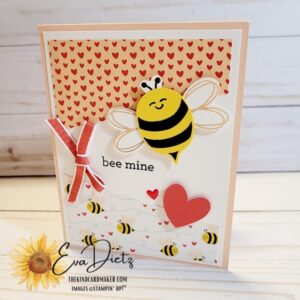
Cardstock Card Base: You need one 8 1/2 x 11″ sheet each of Sweet Sorbet, Petal Pink, and Daffodil Delight cardstock. Those 3 sheets will give you 6 card bases. Hint! With your Stampin’ Up! Paper Trimmer, do the score line first at 4 1/4″ on the whole sheet, then rotate the sheet to cut the two card bases at 5 1/2″. Doing it this way, saves you from one extra step of scoring, if you had cut the cardstock into card bases first, then scored each individual card base. I’m all about efficiency!
Basic White Cardstock Layer: Cut 12 pieces 4″ x 5 1/4″ (6 pieces for the card front and 6 pieces for the inner card layer.) Hint: Feel free to decorate the inner layer piece with either a flower stamped from the stamp set or add a little DSP strip at the bottom or side, before you adhere that layer inside the card base.
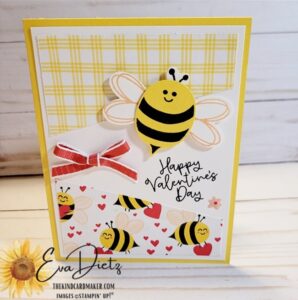
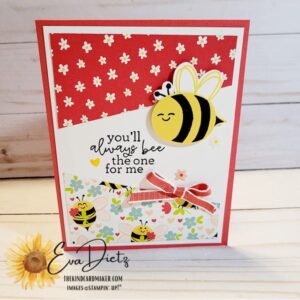
Bee Mine Designer Series Paper (DSP): Cut one 3 3/4″ x 3″ from each of the six different sheet designs in the paper package. Slice the rectangle, and flip the top section over, then use the photos to compare placement on the Basic White Layer. I recommend you just lay your DSP on the Basic White layer, then stamp your greeting in Memento black ink first. That way you can flip your Basic White over if you make a boo-boo. Then adhere the DSP to the white layer. finish by adhering that layer to the card base.
Bee Bodies & Faces: Cut 2 strips of Daffodil Delight cardstock 1 1/2″ x 8 1/2″ wide. Stamp 3 bee bodies in Memento ink on each strip. Punch out using the Bee Builder Punch. Then rotate the necessary bee bodies to either a vertical or horizontal position and stamp with Memento ink your choice of face as shown in the photos.
Bee Wings: Cut 2 strips of Basic White cardstock 1 1/4″ x 8 1/2″. Stamp 3 black wings with Memento ink, 2 yellow wings in Daffodil Delight ink, and 4 pink wings in Petal Pink ink. Punch out using Bee Builder Punch.
Bee Antennas: Cut one strip of 3/4″ x 8 1/2″ of Basic White cardstock. Stamp 6 antennas in Memento ink. Punch out using Bee Builder Punch.
Bee Assembly: Using Glue Dots attach the wing(s) and antenna as shown to each bee body. Then use Dimensionals to raise the bee off the card fronts as shown.
Accessories: Use Sweet Sorbet 1/4″ Bordered Ribbon tying 6 bows, then attach to card front with Glue Dot. Adhesive-Backed Hearts and Flowers are applied as shown in the photos using the Take Your Pick Tool.
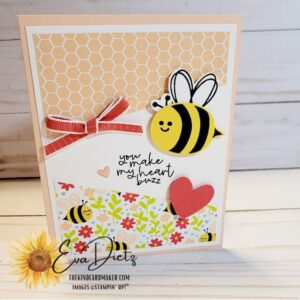
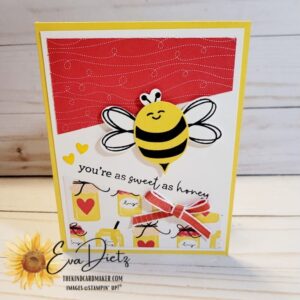
Final Notes for You:
I hope you’ll give these easy Valentine cards a try. Feel free to change them up a bit if you desire. Whomever you give or send them to, will “love” receiving them, “bee-cuz” you have thought of them. Keep spreading kindness wherever you go!
To make shopping easier, I have a quick online shopping list for you here.
Here’s a party favor idea also using the Bee Mine Collection to tryout.
I invite you to join The Kind Card Maker’s Insiders Community by subscribing to my email list. As a thank you for signing up you will receive a free 14 card One Sheet Wonder pdf that you can use for any holiday or occasion. This One Sheet Wonder gift is for subscribers only! And posting a comment is always appreciated!




0 Comments