VARIETY OF TECHNIQUES
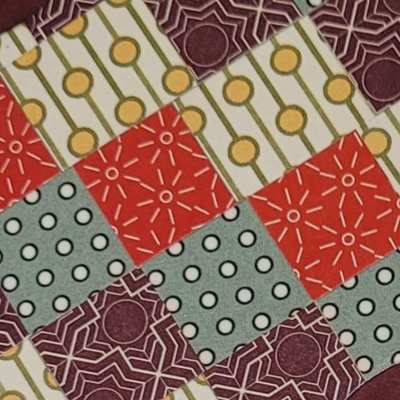
Bargello Technique
Step 1 Cut several strips of patterned paper, ½” or ¾” thick, at least two from each pattern in a darker contrasting color for a cool look. Glue the strips on thin paper side by side. Make sure they are touching, and the edges are even.
Step 2 Once again cut the paper into strips, you will have strips of paper with little squares of a different design. Now play with the strips to create a design. They can be arranged in a zigzag pattern, a wave, steps or create a pyramid design.
Step 3 Adhere the strips in the pattern of your choice directly onto the card base or another sheet of thin paper to make a layer.
Optional – The Bargello background can also be cut with a dye for a shaped background layer like this example.
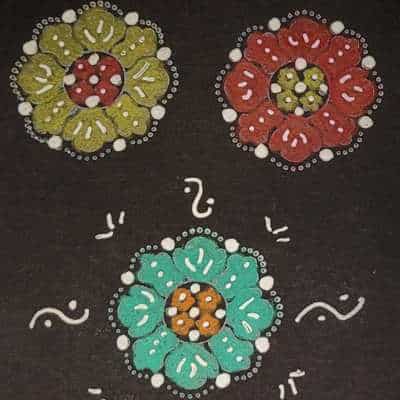
Black Magic Technique
Step 1 Stamp solid image in white craft ink onto black card stock.
Step 2 Heat set image with heat tool.
Step 3 Color image with colored pencils keep the lighter colors toward the edges of the image for a more dramatic effect. Start with the darker colors at the base or center of the image and work your way to the outside edge and lighter colors.
Step 4 Using a white gel pin accent image with dots and lines.
Step 5 Add image to card and embellish as desired.
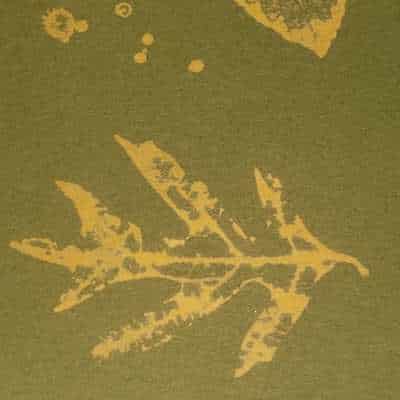
Bleach Stamping
Step 1 Start by placing two paper towels on a plate and pour enough bleach to dampen it.
Step 2 Using a solid stamp, tap on the bleach pad and stamp on a colored piece of cardstock.
Step 3 Let dry completely or use the Heat Tool for faster drying.
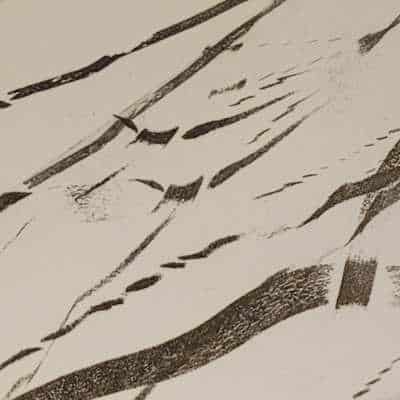
Brayer Rubberband
Step 1 Take the roller off of the brayer and wrap several rubber bands around it tight.
Step 2 Replace the roller back onto the brayer handle and lightly roll across the ink pad, making sure to get a good even coverage. Be careful not to push too hard, so you do not get ink directly on the roller.
Step 3 Apply ink in a smooth motion onto the card stock. Be sure to clean the brayer once you’re finished.
Step 4 Assemble and decorate your card as desired.
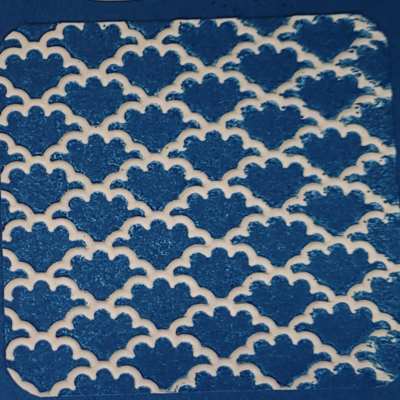
Brayered Embossing Folder
Step 1 Ink up a brayer by rolling it over a classic ink pad.
Step 2 Roll brayer over embossing folder. Reink the brayer and continue rolling until the color is to your liking. You can use either side of the embossing folder, but I prefer the “flat” side.
Step 3 Place card stock onto the inked embossing folder and run through your Big Shot or Cut & Emboss Machine.
Step 4 Remove card stock and use in project. This technique always gets a “WOW” when I’ve used it in classes.
Step 5 It is easy to clean the brayer and a bossing folder. Simply run them under tap water and let air dry.
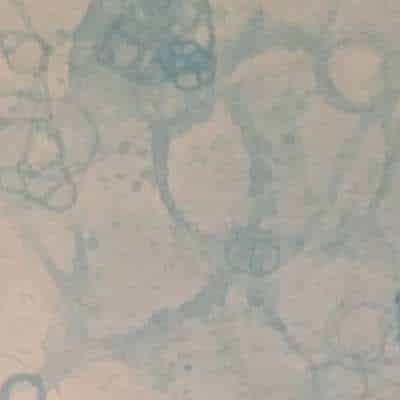
Bubble Background
Step 1 Pour a small amount of children’s bubbles into a shallow bowl.
Step 2 Add reinker to the bubbles (approximately 15 to 20 for a small prep bowl.) If you are going to use more than one color, have your different colors mixed and ready to go in separate bowls.
Step 3 Have your card stock ready and blow into the first bowl of “bubbles” through a straw until bubbles are produced that rise above the rim of the bowl.
Step 4 Then, simply touch the bubbles with your card stock (without touching the rim of the bowl.) The bubbles will “pop” and produce a unique background for your cards.
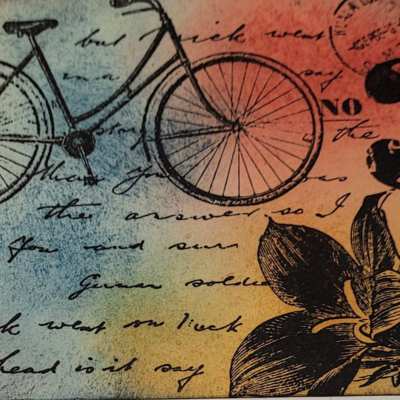
Burnishing
Step 1 Stamp image with Stayz-on ink on light-colored card stock.
Step 2 Using a circular motion sponge multiple colors in spots all over your image.
Step 3 Sponge darker color around edges to complete the “weathered” look.
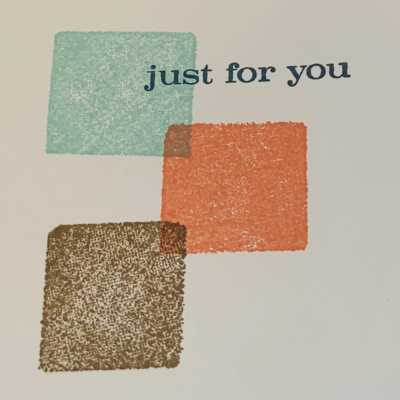
Color Block Stamping
Step 1 Press color block onto ink pad so the whole block is inked.
Step 2 Press inked block on the cardstock or paper.
Step 3 Mat and embellish as desired.
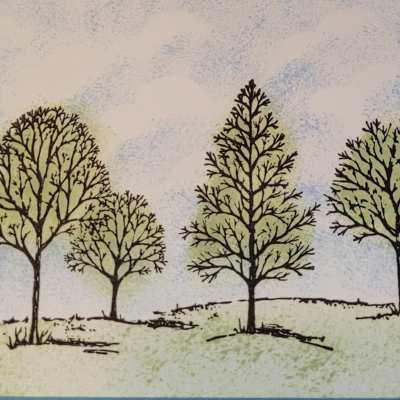
Daubered/Sponged Clouds
Supplies: Window sheet, Scallop circle punch or Scallop oval punch, Sponge wedge or Dauber, Balmy Blue Classic Stampin’ pad.
Step 1 Punch a scallop circle, oval from a window sheet. You can also choose to simply free-hand draw a cloud shape and cut it out of the window sheet.
Step 2 Using this piece as a mask, place on card stock and use lightly inked sponge or dauber to apply color to sky. The template creates the clouds. Move the template around, continuing to sponge sky until desired look is achieved.
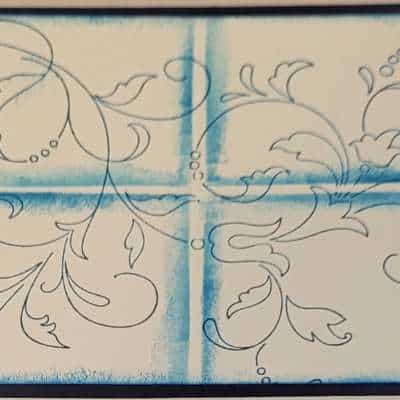
Delft Tile Stamping
Step 1 Cut card stock to 5″ by 3 3/4″.
Step 2 Use your scoring board, score the 5″ side, 1 5/8″ inches in from each side (this will leave 1 3/4″ for the center column. Turn 90° and score the 3 3/4″ side 1 1/4″ in from each side.
Step 3 Turn your scored card stock so that the backside, or side with indented score lines, is face up.
Step 4 Stamp your image. Large background stamps work best. Smaller images will also work, but care must be taken not to press too hard into the scored indentations.
Step 5 Cut an inside corner out of the scrap paper. Place the mask over the scored lines. Ink the sponge with the same or slightly lighter ink. Lightly sponge just inside the scored line covered by the mask. Move the mask as you go, sponging all sides of the “tiles”. The outside edges may be sponged, if desired.
Optional – To further enhance the tiles, use the Smoky Slate marker to outline the scored indentations or faux grout lines.
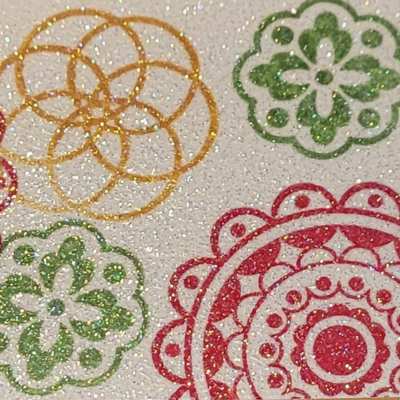
Diamond Dust
Step 1 Stamp image on card stock.
Step 2 Cover entire piece of cardstock with Versamark ink.
Step 3 Place card stock on piece of larger scrap paper.
Step 4 Pour iridescent ice embossing powder, Diamond Dust, or Fine Glitter over entire piece of cardstock.
Step 5 Tap off excess of embossing powder and heat set with Heat Tool until shiny.
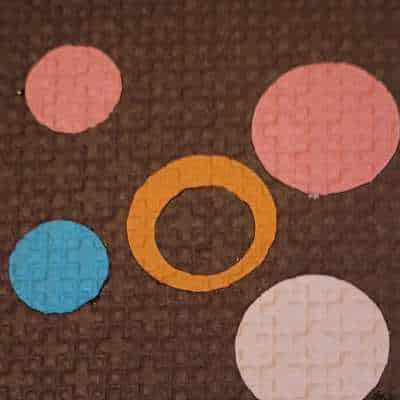
Embedded Embossing
Use punches and embossing folders to create the illusion of one piece of cardstock.
Cut out or punch out shapes. Adhere the punched out shapes to the card stock using glue stick or Tombow Multipurpose glue. Put the card stock into any small design embossing folder and run it through the Big Shot or Cut & Emboss Machine.
You have just embossed your shapes to the card base
Hint – Smaller embossing folder designs work best.
If you have some, using glossy white cardstock as a base also makes a cool effect.
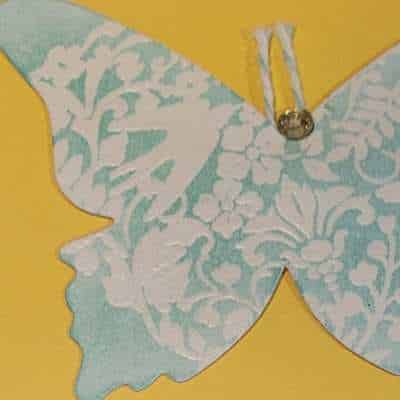
Emboss Resist
Step 1 Rub an embossing buddy over card stock to remove any static.
Step 2 Ink up your stamp with Versamark ink, then stamp onto cardstock.
Step 3 Sprinkle clear embossing powder over image, and tap off excess.
Step 4 Use Heat Tool to set image.
Step 5 Choose two or more colors of Classic Stampin’ ink.
Step 6 Ink up a Sponge dauber with the lightest color first.
Step 7 Use a light hand and a swirling motion to ink only the part of the embossed image
Step 8 Continue adding more colors until embossed area is filled with color.
Step 9 Swirl color all the way to the edges of the paper.
Step 10 Using a paper towel, rub the embossed area’s until all the color that resisted the ink is gone.
Hint – For lighter affects, pick up color from ink pad with your sponge, dab off color once or twice onto a scrap piece of paper, so the color is not too intense.
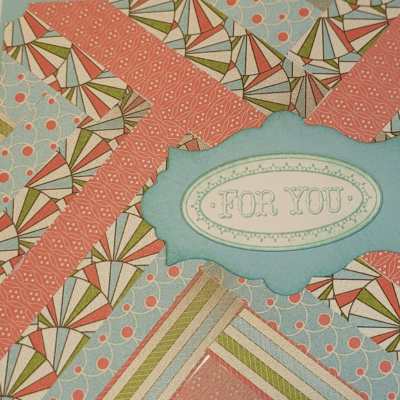
Faux Herringbone
Step 1 Adhere your base card stock to a piece of adhesive sheet cut a smidge larger.
Step 2 Using half inch strips of Designer Series Paper (DSP), adhere it, the boldest design on the diagonal across the base. Trim it and add a piece perpendicular to the diagonal on either side.
Step 3 Ccontinue to fill in each rectangular section with your strips of DSP. Trimming as you desire and using all the strips.
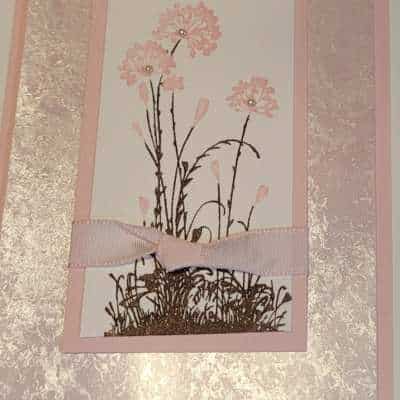
Faux Mother of Pearl
Step 1 Bunch up a piece of Saran wrap and dip it into Frost White Shimmer Paint (dab off any excess paint.)
Step 2 Start dabbing lightly onto Glossy White cardstock(I find it works best, but you can use Basic White or Very Vanilla.)
Step 3. Make sure to leave open spots on your card stock and not to completely cover with paint.
Step 4 Set aside to dry, then apply ink, (lighter colors work best) with brayer, sponge, or dauber.
Step 5 Wipe off any excess ink from dried Shimmer Paint, by doing this it produces the mother a pearl look.
Step 6 You can either use a use as a background or stamp overthe top, just make sure they are dye ink pads.
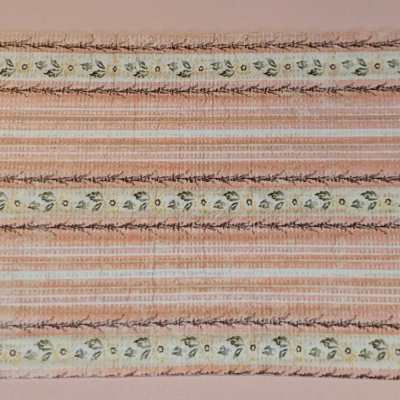
Faux Seersucker
Step 1 Cut your card stock a little larger than you need it to be.
Step 2 Stamp your image on the paper or use designer paper.
Step 3 Starting on the long end put your paper into the paper crimper tool. The tighter you press, the more defined your seersucker will be, then turn your paper to the short side and put the paper through the paper crimper tool again.
Faux Silk
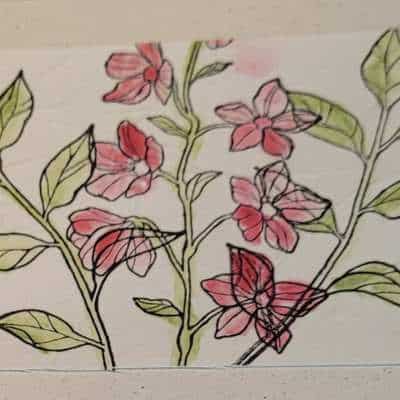
Supplies: Tissue paper, glue stick, Xyron, spray adhesive, Mod podge or other adhesive, Neutral cardstock, Stamps, Ink
Step 1 Stamp images on tissue paper.
Step 2 Color images if necessary. Hint: color carefully. The ink will bleed through the tissue paper.
Step 3 Crinkle tissue paper. Smooth out and set aside.
Step 4 Apply adhesive of your choice over the entire piece of neutral cardstock.
Step 5 Spread tissue paper over adhesive. Smooth out most wrinkles.
Step 6 Trim excess tissue paper.
Step 7 Finish your card.
Faux Stitching Lines
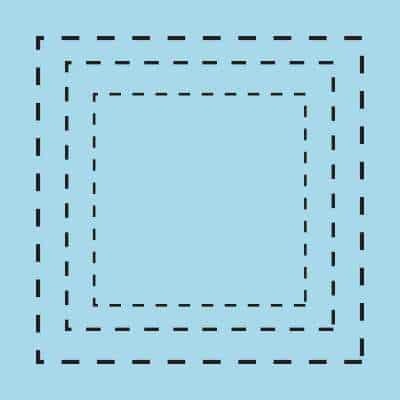
This is probably one of the simplest techniques that you will ever do! If you would like to give your work the look of stitching without doing any sewing at all, simply take a marker or gel pen and draw lines exactly where you would want to see stitches. It works really well at giving different shapes of paper the quilted look.
Ghosting with Versa Mark
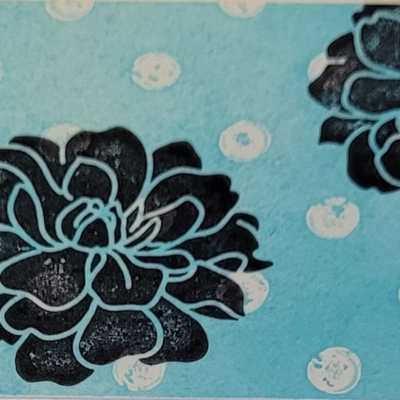
Supplies: Glossy white cardstock, Versamark ink, stamps, Water-based ink, sponge, or brayer.
Step 1 Stamp images in Versamark on your glossy cardstock. Everything stamped in Versamark will resist the ink applied in the next step. Hint: The more you let the Versamark dry, the more defined your resist images will look.
Step 2 Sponge ink over the cardstock. Continue to apply ink until the entire piece of cardstock is covered.
Step 3 Buff cardstock with a piece of cloth or paper towel. The ink over your Versamark images will rub off. Your ghosted image is done. Use as main image.
Optional – You may stamp over your ghosted background.
Step 5 Finish your card.
Glitter Window
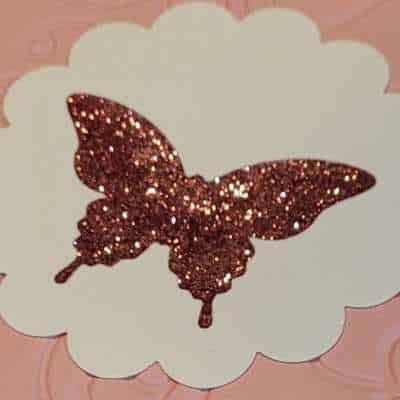
Step 1 Decide if you want to use a punch to punch designs in a layer of your card or if you want to punch a design out of a larger punched or die cut shape.
Step 2 Place a strip of packing Ttpe behind the punched out designs making sure the sticky shows through the front.
Step 3 Press the cardstock with the sticky side of the tape into a small dish with glitter. Tap off any excess.
Step 4 Continue with your card design as the glitter is now attached to your project.
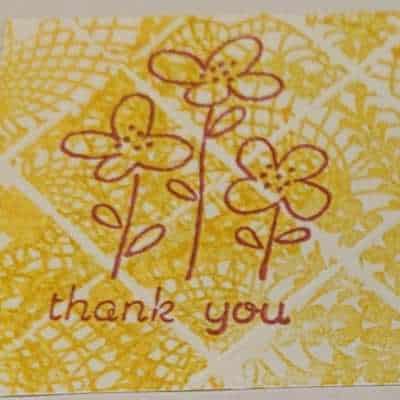
Grid Technique
Supplies: Simply Scored scoring tool, and if you have it the diagonal score plate, ink cardstock, and stamps.
Step 1 Decide what size you want your cardstock layer to be. Cut desired cardstock to size.
Step 2 Line your cardstock up in the upper left corner of the simply scored on top of the diagonal score plate. Score Card stock at even intervals here, the scores were made at every 1″. Turn card stock 90°, lineup as before, and score at every 1″ again to create a scored grid.
Step 3 Ink the stamp and stamp on the cardstock side with the indented score lines
Optional – If you don’t have the diagonal plate for the Simply Scored scoring tool, just turn you paper diagonal and use some washi tape or post it note to hold it in place and process with scoring the 1″ grid.
Hint: If you want a background on your cardstock that will show off the scored grid, lay a background stamp face up, ink it and place the gridded cardstock face down on the ink and finger press all over.
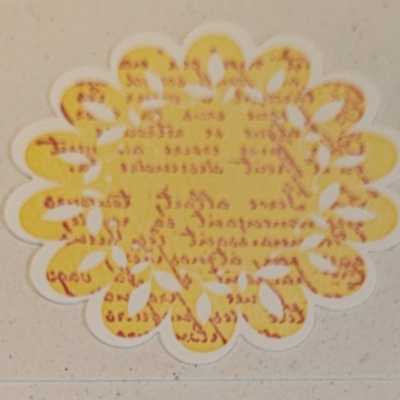
Kissing Technique
Supplies: Solid image stamp, 2 coordinating colors of dye ink, cardstock, and small image or background stamp.
Step 1 Ink a solid image stamp with the lightest color ink.
Step 2 Ink a background stamp with the darkest color ink.
Step 3 Press the solid stamp onto the background stamp.
Step 4 Stamp image on card stock.
Optional Step 5 If you have a 2 step image, stamp your outline image over your solid image.
Step 6 Finish your card.
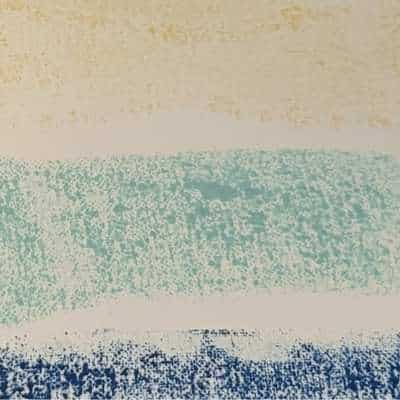
Magic Masking Tape
Step 1 Take a piece of low tac painter’s masking tape long enough to cover from edge to the other edge of the paper you want to use.
Step 2 With the sticky side down lay the tape across the ink pad pressing into the ink.
Step 3 Now lay the tape across your paper and press down.
Step 4 Hold the paper and quickly pull the masking tape off. Be sure to hold the paper with one hand and the tape with the other.
Step 5 Your ink will make a lovely textured design on glossy paper or cardstock.
Step 6 Continue with different colors using a different piece of tape for each color until you achieve the look you want.
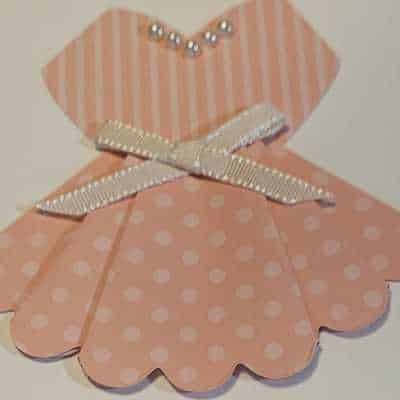
Paper Pleating
To make Knife Pleats: Use a 12″ long strip of paper, score at 1/2″ and 3/4″ intervals, repeating for the entire length. Fold back and forth along score lines, using bone folder to create crisp folds. Caution – if using Designer Series Paper, finger pressing is preferred, as a bone folder will cause the folds to break open.
To make Box Pleats: Use a 12″ long strip of paper, score at 1/4″ and 3/4″ intervals, repeating for the entire length. Fold at 1/4″ under and 3/4″ under, then at the next 1/4″ score line fold forwards. At the next 3/4″ scoreline fold the paper forwards to create a pleat in the back. Alternate the folding two folds under then two folds forward for the entire length of the paper.
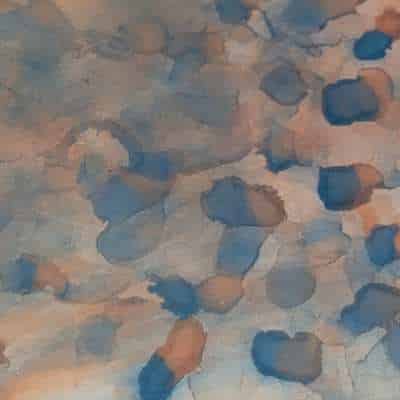
Polished Stone
Place a few drops of color from your reinkers onto a cotton ball and saturate with rubbing alcohol. Dab and swirl the cotton ball over the entire portion of glossy white cardstock. As the alcohol evaporates you will see stone or gem like striations appear on the cardstock.
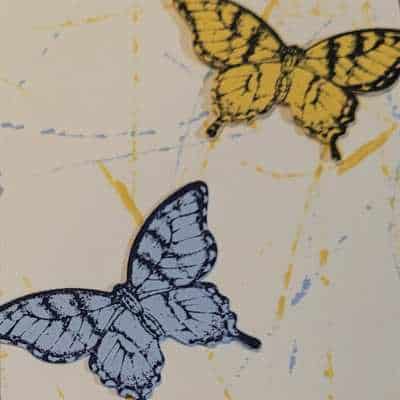
Rolling Marble Background
Supplies: Cardstock either Basic White or Very Vanilla, 2 or 3 coordinating reinkers, temporary adhesive, wood mount stamp box, marbles.
Step 1 Attach cardstock to inside the lid of stamp box using temporary adhesive.
Step 2 Put 3 drops of one color ink in the bottom of the box.
Step 3 Drop 2 marbles into the box, close the lid and tilt the box back-and-forth, so the marbles roll through the ink.
Step 4 Flip the box upside down and roll the marbles across the cardstock until you like the pattern.
Repeat Steps 1 to 4 using additional colors as desired.
Tip: Use a separate box and marble for each color or clean between colors.
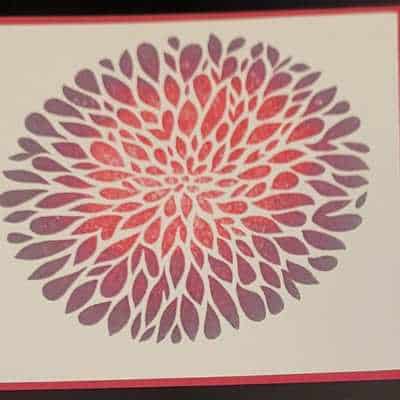
Rolling the Edges
Step 1 You need 2 different color ink pads (one lighter and one slightly darker.)
Step 2 Ink up the stamp image with the lighter color.
Step 3 Roll the edges of the stamp in the darker color ink pad. The more you let the edges touch the ink pad. The more color will be on the outside of the image.
Step 4 Press double colored image to your choice of cardstock.
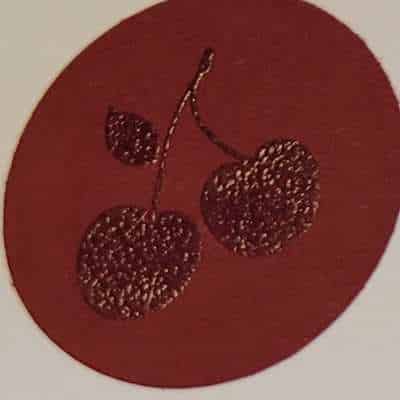
Scratch and Sniff
Step 1 Using sugar-free, Kool aid (or other such sugar-free drink mix) select your desired scent.
Step 2 Mix the drink mix powder with clear embossing powder at a ratio of 2 1/2 – 3 parts powder to 1 part sugar free drink mix.
Step 3 Ink up your stamp withVersamark.
Step 4 Stamp your image onto cardstock.
Step 5 Pour your scented powder over the image.
Step 6 Heat set the image from the back, giving it one quick blast of hot air from the front at the very end (to ensure it is set.)
Step 7 Attach image to your card.
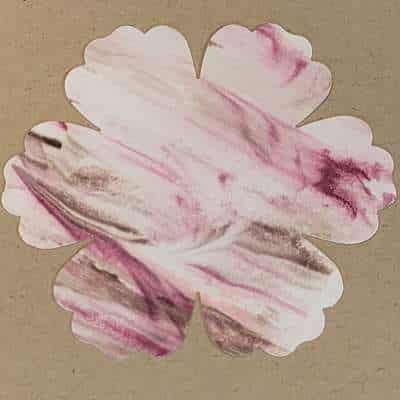
Shaving Cream
Supplies: 2 or 3 different color reinkers, Basic White cardstock or Glossy White card stock, shaving cream (not the gel kind), paper plate, lots of paper towels, a stick or utensil or tool that you do not mind getting ink on.
Step 1 Fill a paper plate with shaving cream. Even it out a little bit with a stick utensil or tool. Make sure the shaving cream is spread out enough to fit the size of your card stock.
Step 2 Add approximately 4 to 7 drops of 2 or 3 different reinkers. Gently swirl with stick to make whatever pattern you want in the ink. Be careful not to swirl too much. Or your colors will become messy.
Step 3 Take your card stock and place it face down in the shaving cream. Press it down lightly to make sure the entire card stock is touching the shaving cream mixture. Let it set for a couple of seconds. Remove the card stock from the shaving cream.
Step 4 With a paper towel wipe away the excess shaving cream. Set aside to dry. Once dry, you’re ready to use it in your card.
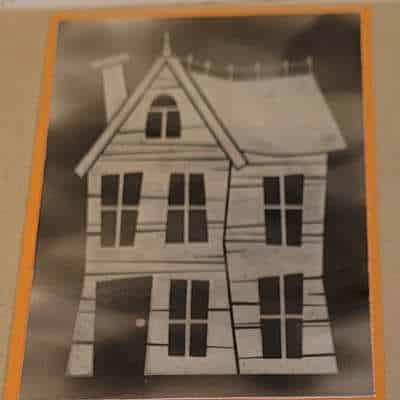
Soot Stamping
Step 1 Take a glossy piece of cardstock and hold it glossy side down over a candle. The flame has to touch the cardstock. Move the card stock around quickly.
Step 2 Warning edges catch on fire easily.
Step 3 Take a stamp and press it onto your soot-covered cardstock. Lift stamp up to reveal your image. The stamp will take away the soot.
Warning – Don’t touch the front of your soot cardstock or it will show fingerprints.
Step 5 Spray your image with acrylic sealer.
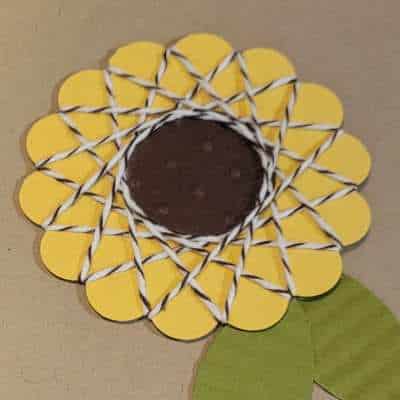
Spirelli
Step 1 Tape one end of the Baker’s twine to the back side of the scallop circle. Hint: do not cut the thread until the sparelli is complete.
Step 2 Run thread from a scallop valley to another scallop valley. Skip at least 3 scallops for the wrap. Make sure the twine is taut.
Step 3 Continue wrapping in one direction only, always skipping the same amount of scallops.
Step 4 Continue wrapping always moving in the same direction. You will be doubling up on each scallop valley with the twine until all valleys have 2 threads each.
Step 5 Tape the thread on the back. When the wrapping is finished, cut the thread.
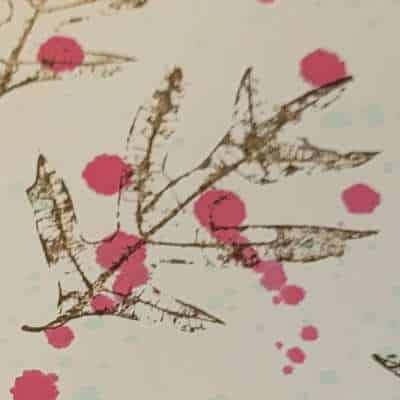
Splatter
Step 1 Fill water painter with water and add ten drops of reinker.
Step 2 Gently squeeze the water painter until you see a drop of water. Move into the tip of the water painter brush.
Step 3 For a smaller spot of color tap or flick the side of the water painter.
Step 4 For larger spots of color gently squeeze the sides of the water painter until you get a drop of ink on your paper
Step 5 Between colors let the ink dry.
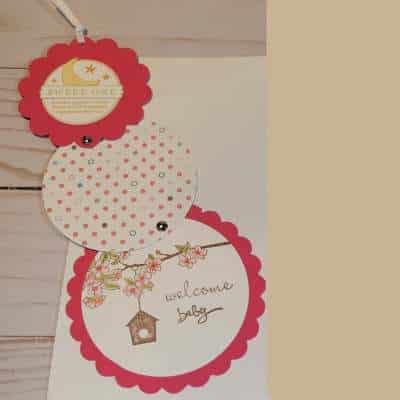
Telescoping Layers Card
Supplies: Cardstock, pattern paper, stamps and embellishments, three nesting size punches, two brads.
Step 1 Cut shapes that are each slightly smaller than the one before.
Step 2 Decorate the shapes with stamps, additional layers, and embellishments.
Step 3 Pierce a hole in the bottom of the medium sized shape. Place the medium size shape with its image upside down over the largest shape. Using the hole on the medium shape as a guide to pierce the hold through the bottom shape. Connect the shapes with a brad.
Step 4 Pierce hole on the lower edge of your smallest shape. Line smallest shape up with medium one, the image of the smallest shape should be upside down. Pierce hole into the medium shape on the opposite side of your first brad. Attach layers with second brad.
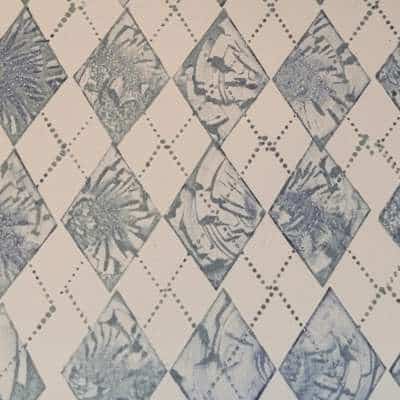
Twisted Kissing
Step 1 Ink up a large bold stamp in a lighter color ink.
Step 2 Ink up a smaller stamp in a darker color.
Step 3 Stamp the inked smaller stamp onto the larger inked stamp (kissing technique) BUT before lifting the smaller stamp off – twist it!
Step 4 Clean off stamps and reink to stamp again.
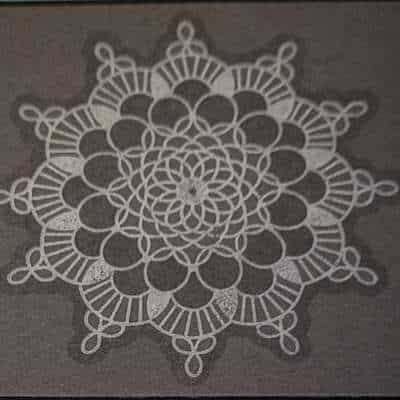
Versa Shadow
Step 1 Stamp line image or solid image with White Craft Stampin’ ink on dark card stock. Set aside and let dry.
Step 2 After image is dry, use the fine tip end of a Versa Marker to outline around stamped image. Repeat until desired effect is achieved.
Note: Always test technique on card stock first to see if you get desired effect, it works well on Basic Gray or Crumb Cake, and it does not work well on some reds and Basic Black.
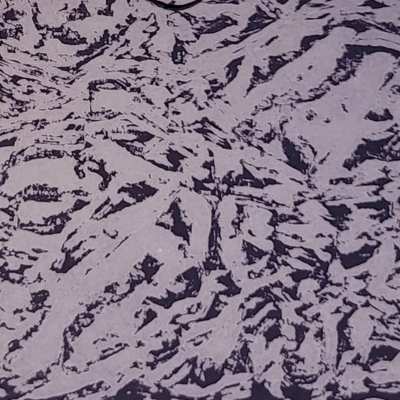
Wax Paper Resist
Step 1 Take a piece of wax paper slightly larger than your glossy card stock. Crinkle it up and smooth it back out gently.
Step 2 Sandwich your wax paper between 2 sheets of Glossy cardstock with the glossy sides facing the wax paper, both top and bottom. (If you use one full, 8 1/2″ by 11″ sheet, you could get 8 for 1 with this technique. Cut to desired size after step 4.)
Step 3 Use one of your left over grid placemats as protection for your ironing board folded in half. Place your paper “sandwich” inside. With your iron on the cotton setting, press all over until you smell the paper getting hot (10 to 15 seconds.) Let cool a bit.
Step 4 Take pieces apart and throw wax paper away.
Step 5 Start applying ink over the Glossy card stock with your choice of dauber, sponge with ink pad or reinkers, or brayer until you get the desired amount of color that you want.
Step 6 Wipe over your card stock with a paper towel or facial tissue lightly. The ink will resist where the wax from the wax paper stuck to the Glossy card stock.
Note you can even stamp right on top of this technique with Staz-on ink if desired.
