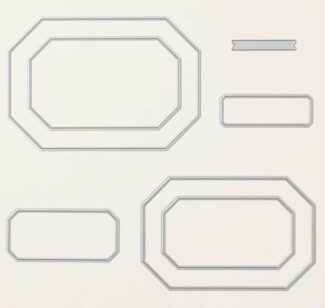
Give the Abundant Beauty Decorative Masks a try on this Thankful Card!
I always try to be thankful every day for my family, friends, and the many blessings I have in my life. I’m sure you do as well. So when I designed this card for you, I wanted it to be unique, colorful, and a combination of techniques. When you make this card you will be able to show your friend or loved one how thankful you are for them being in your life.
Decorative Mask Technique
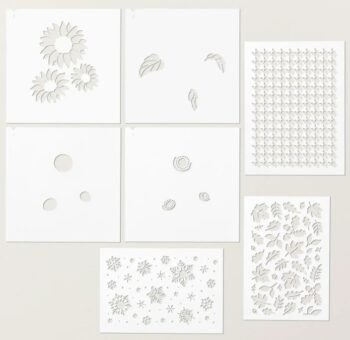
The first technique was to use Stampin’ Up!s Abundant Beauty Decorative Masks. There are many ways that you can use them, for example, with embossing paste, blending brushes and ink, sponge daubers and ink, or a combination of Stampin’ Blends and Stampin’ Write Markers. I used the combination of Stampin’ Blends and Stampin’ Write Markers, followed by fussy cutting. You will love the easy clean up when you are finished with them. The strong plastic sheets are easily washable by running them under your faucet with warm water and patting try with a paper towel or even a kleenex.
To create the sunflower it was a 4 mask process, but the masks are easy to line up. You can hold them down with a little washi tape and keep on going.
Step 1: Start with the 3 sunflower mask. I attached mine to a piece of 6″ x 6″ Basic White cardstock. I used the Crushed Curry ink pad with a Blending Brush and swirled the ink within each petal. When I had the level of color I wanted, then I outlined each petal with the Stampin’ Write Crushed Curry Marker.
Step 2: Next replace the sunflower mask with the 3 plain circles mask. Again use washi tape to position the largest center circle in the largest sunflower. Use a Blending Brush with Early Espresso ink for the first layer of the center.
Step 3: Again replace the center circle mask with the more intricate circle mask. Affix with washi tape. I used retired ink Cinnamon Cider and a Blending Brush to do the dotted centerpiece of the sunflower. Go ahead and fussy cut out your sunflower.
Step 4: On the scraps of the Basic White left over from the sunflower, you will need to stencil the largest leaf from the 4th mask using Mossy Meadow ink and another Blending Brush. Fussy cut that leaf out.
Images (c) Stampin’ Up!
Die Cutting and Embossing Designer Series Paper Technique
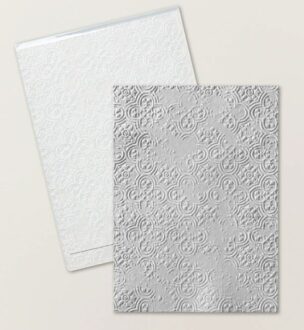
The second technique was to combine some retired Pumpkin Pie 6″ x 6″ Designer Series Paper and use one of the largest of the Countryside Corners Dies to cut out the “geometric” pumpkin. Next place that pumpkin shape inside the Distressed Tile 3D Embossing Folder and pass it through your die cutting machine. The result was this incredible texture as shown in the photo below.
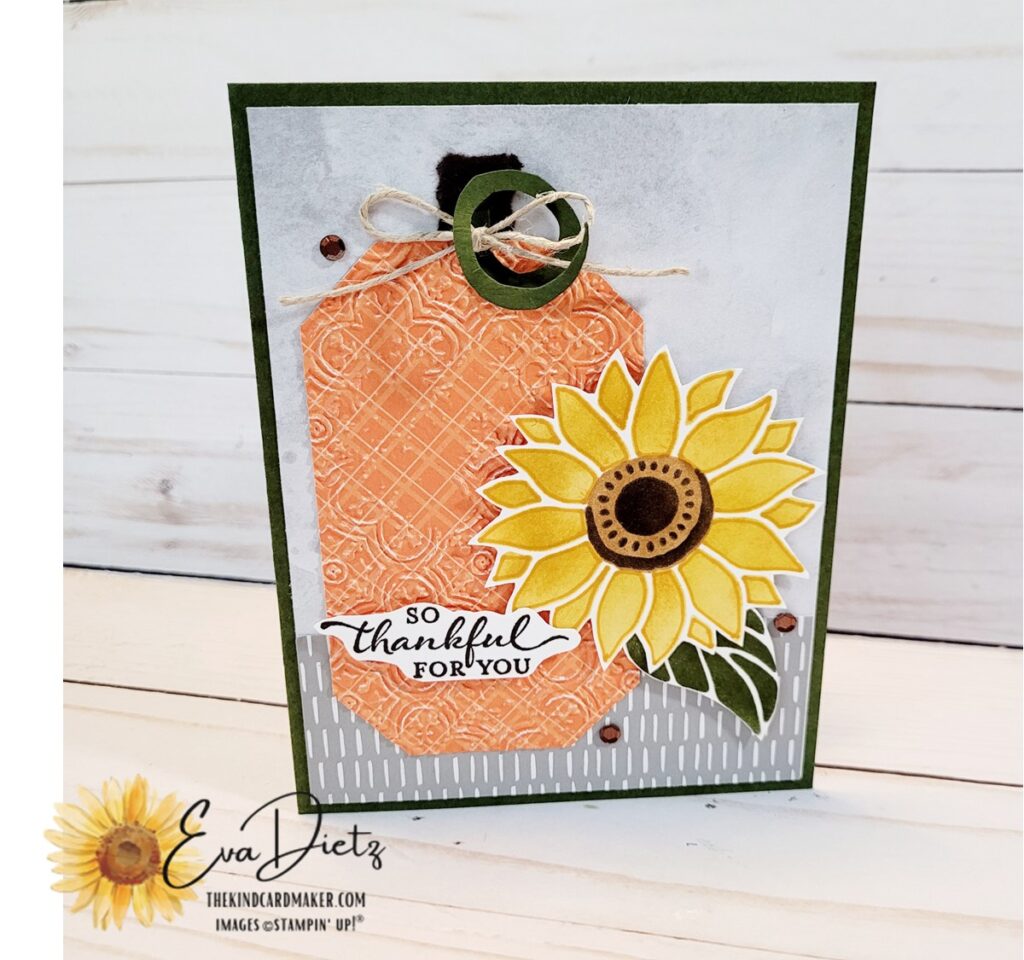
Country Side Corners Dies
Images (c) Stampin’ Up!
Distressed Tile 3D Embossing Folder
Images (c) Stampin’ Up!
The Rest of the Card Prep
Your card base is Mossy Meadow cardstock cut 5 1/2″ x 8 1/2 ” and scored at 4 1/4″. The mottled gray layer comes from the Winter Meadow Designer Series Pape (DSP) package. Cut that at 4″ x 5 1/4″ and adhere to the card base. Next cut a 4″ x 1 1/2″ piece of the gray hash marks paper from the Neutrals 6″ x 6″ Designer Series Paper. Affix that on top of the mottled gray at the lower edge as shown in the photo.
Before we can assemble everything together you’ll need to use a scrap of Early Espresso cardstock and free-hand cut a stem for the pumpkin. Affix it behind the center top of the pumpkin. With another scrap of Mossy Meadow cardstock free-hand cut a little curly cue for the “vine.” Adhere that to the lower center section of the stem with a glue dot.
Attach the stenciled leaf behind the sunflower as similarly shown in the photo. Lastly you’ll need a small scrap of Basic White to stamp “So thankful for you” from the So Sincere stamp set in Early Espresso ink. Fussy cut around the greeting.
Final Assembly
Adhere the pumpkin, stem, curly-cue combo to the left side of the card front, so it lays flat. Using Dimensionals raise up the sunflower and leaf so it overlaps as shown in the photo. Add the tag also raised on Mini Dimensionals. Add 3 (Brown) Neutral Adhesive Backed Sequins to the card front as shown. Finish with a Linen Thread bow underneath the curly-cue with another glue dot.
For the inside of the card – cut Basic White cardstock at 4″ x 5 1/4″ and affix to the inside. From the Winter Meadow DSP same gray as on the card front you’ll need a 1/2″ x 4″ strip to adhere 1/16″ from the bottom edge of the inner Basic White piece.
It’s always a great idea to decorate your exterior envelope flap with a coordinating piece of Mossy Meadow from the Neutrals 6″ x 6″ Designer Series Papers. Cut 2 1/4″ x 6″, adhere and trim off any excess.
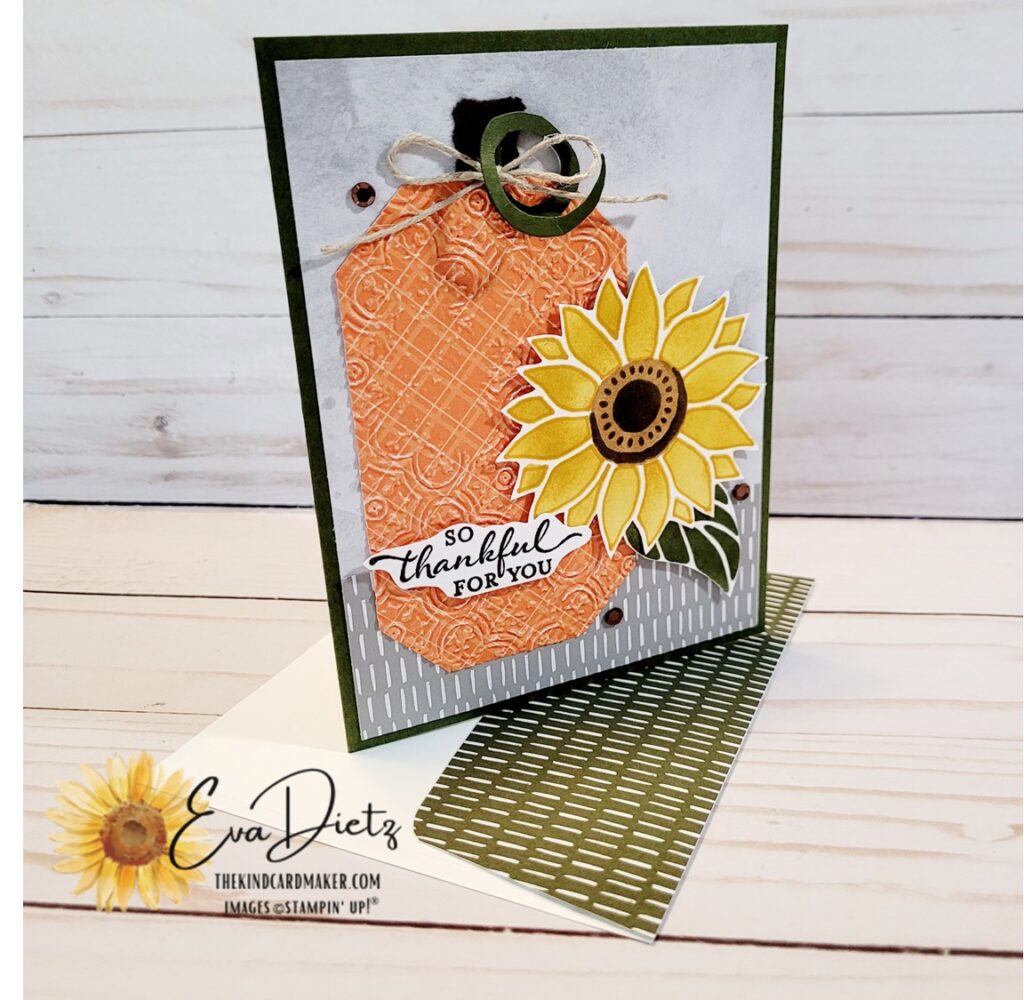
We are done! Now you can think about who will be receiving this thankful card from you. I hope it is someone very special to you!
I have prepared a helpful shopping list of materials used in this card for you to see in my online store. Visit this shopping link.
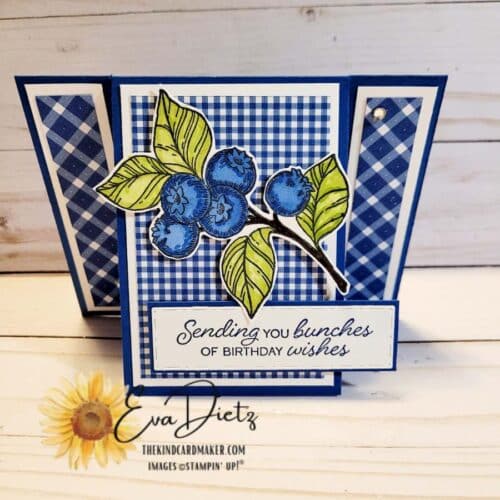
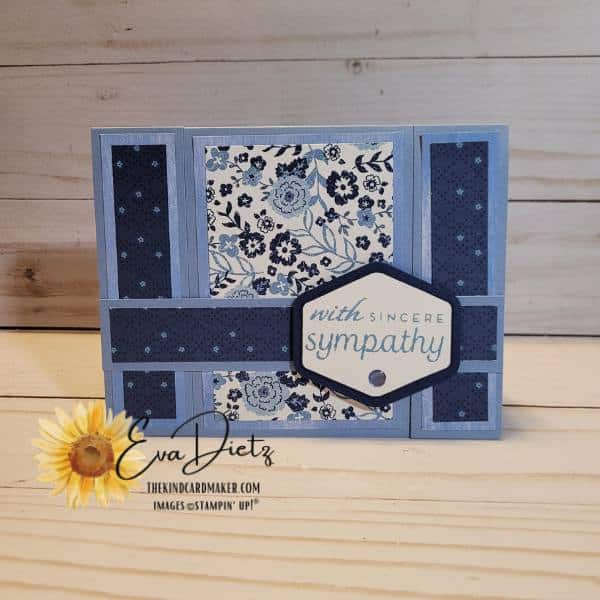
Check out this card idea using more of the Abundant Beauty Decorative Masks HERE.
I invite you to join The Kind Card Maker’s Insiders Community by subscribing to my email list. As a thanks for signing up you will receive a free 14 card One Sheet Wonder pdf that you can use for any holiday or occasion. This One Sheet Wonder gift is for subscribers only!




0 Comments