Who doesn’t love being celebrated on their Birthday and receiving lots of Birthday Wishes from your friends and family? I know I do and that was my inspiration with this fun Lemon-Lime card to celebrate a friends upcoming Birthday. I can’t wait to send her lots of Birthday Wishes!
Have you ever considered combining your Stampin’ Up! older retired products with new products? Well, that is exactly what I did with this card design. The moment I purchased the Sweet Citrus Bundle I knew that somewhere were some lemons hiding in my paper stash which would make the best Birthday Wishes card.
When I mean older, I dug into my 12″ x 12″ hanging files for the lemony paper I had in mind that I was still sure I had. Yep, there was 1 sheet of the lemon design left from the Fruit Stand Designer Series Paper from 2016 I had purchased long ago. Wahoo!
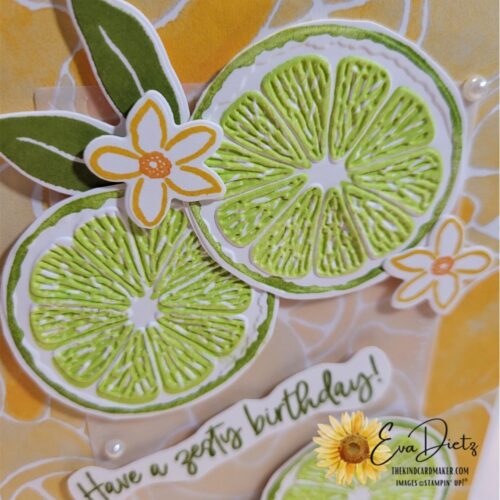
I think combining the old and the new worked so nicely with this card layout. I got to use some more of the limes I had stamped, fussy cut out, then embossed with the hybrid embossing folder along with a piece of vellum cardstock that I used the Radiating Stitches Dies on (2nd to the largest die.) (You can’t see the edgework in the photo I don’t think.)
Let’s Create This Zesty Birthday Wishes Card!
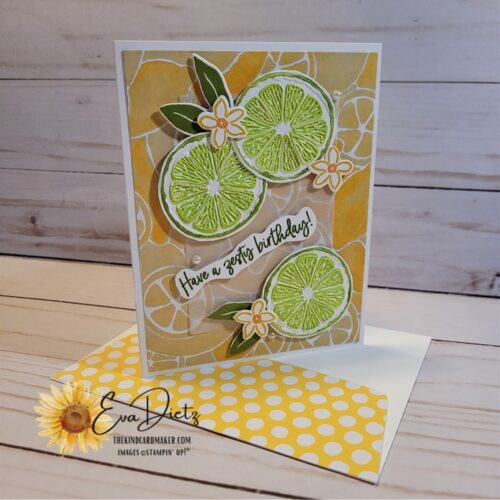
Finished card with matching envelope.
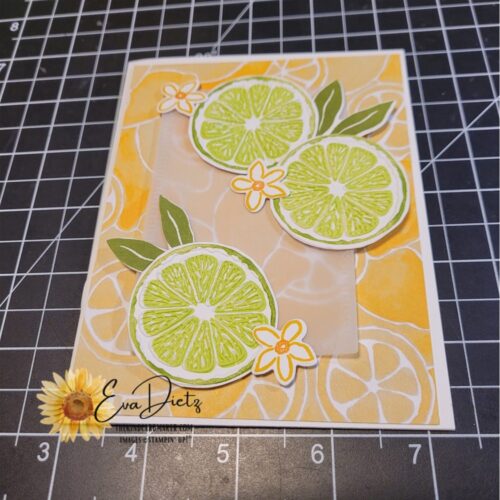
Card under construction above. As you can see I ended up changing my mind on where I was going to place the limes once I adhered the limes down. The reason was partially due to the vellum. You have to be careful not to put adhesive where it will show through. So those limes, flowers, and leaves were strategically placed.
SPECIAL TECHNIQUE TIP!
Did you know you can create any color of heat embossed words? Yes, you can!! All you must do is follow the four-step process below if you have a photopolymer stamp set with the greeting you want to use.
Here’s what to do:
1) Stamp the greeting in the ink color of your choice on Basic White cardstock.
2) Stamp the greeting again with Versamark ink, then carefully align the photopolymer stamp on top of the previously stamped image.
3) Sprinkle the clear embossing powder on top, tap off excess.
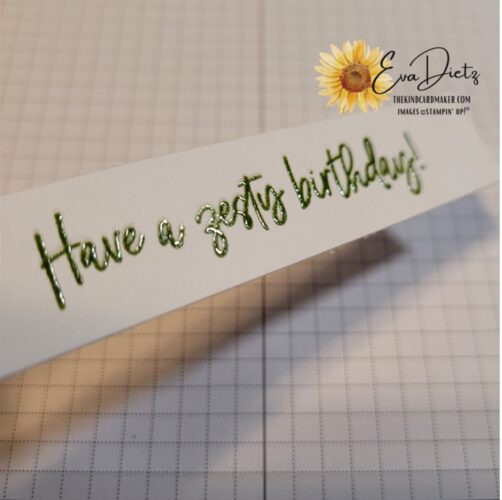
4) Turn on your heat tool and warm the clear powder until it gets shiny all over like in the photo above.
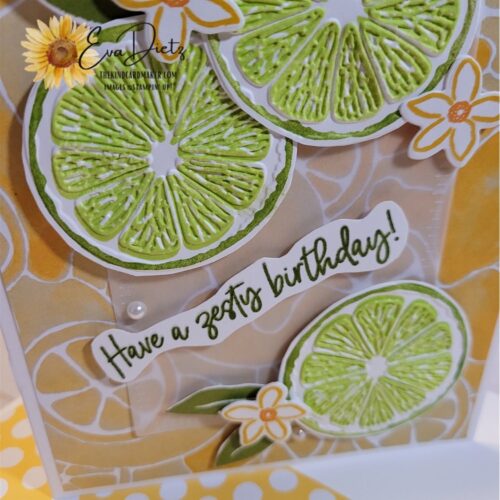
Above and below – a couple close ups of the amazing citrus hybrid embossing folder. Plus, the fussy cut heat embossed greeting.
Birthday Colors Used:
The lime’s ink colors were Granny Apple Green for the peel and Parakeet Party for the citrus segments. The leaves were in Old Olive. The Flowers were Crushed Curry with a Pumpkin Pie center. Basic Pearl Jewels for the embellishments.
I encourage you to dig deep in your paper stash to see if you have some Designer Series Paper that might go perfectly with the Sweet Citrus Bundle so you can create a similar card to share and give.
Visit this post to learn how to stamp the single citrus slice HERE. Or make an all Lemony Version HERE.



0 Comments