Make Your Holidays Extra Special with This Easy Christmas Sampler!
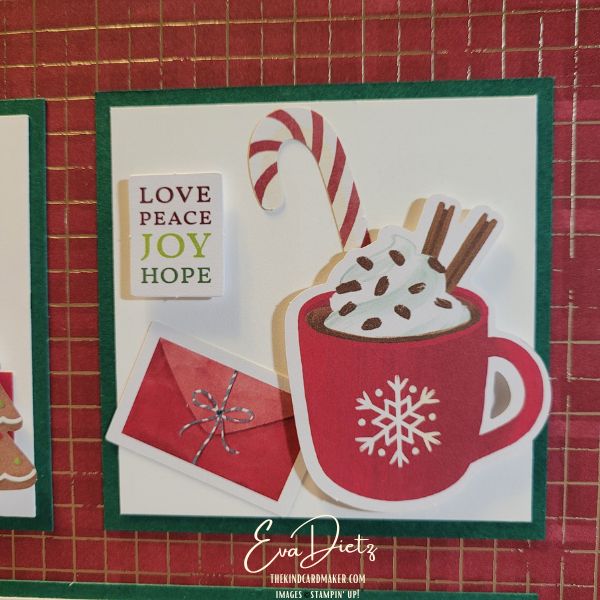
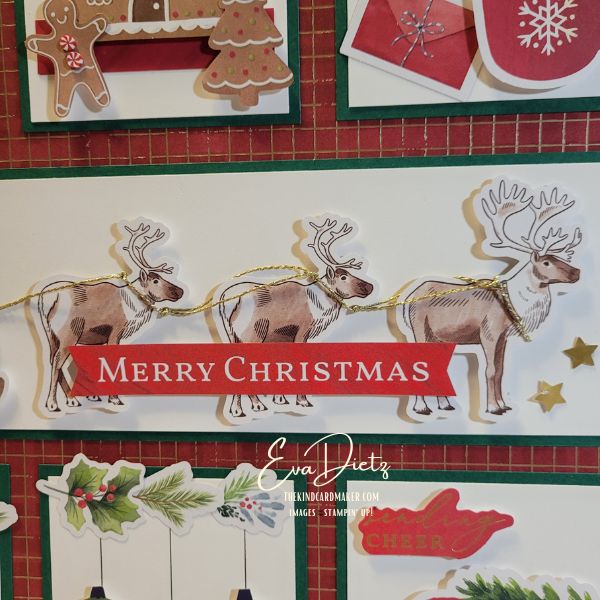
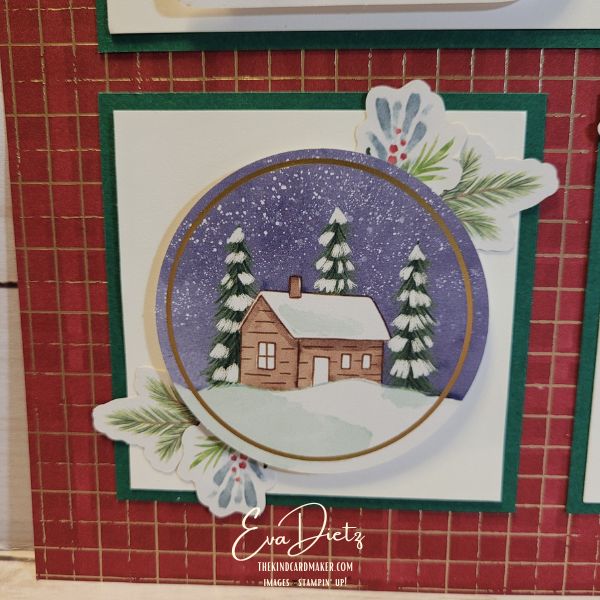
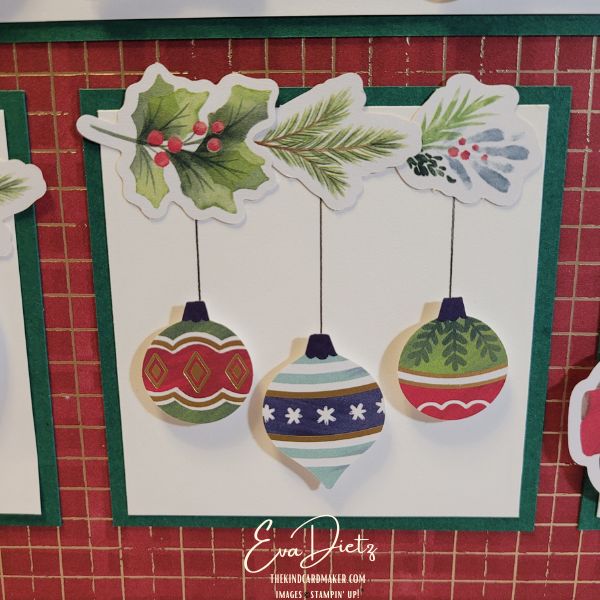
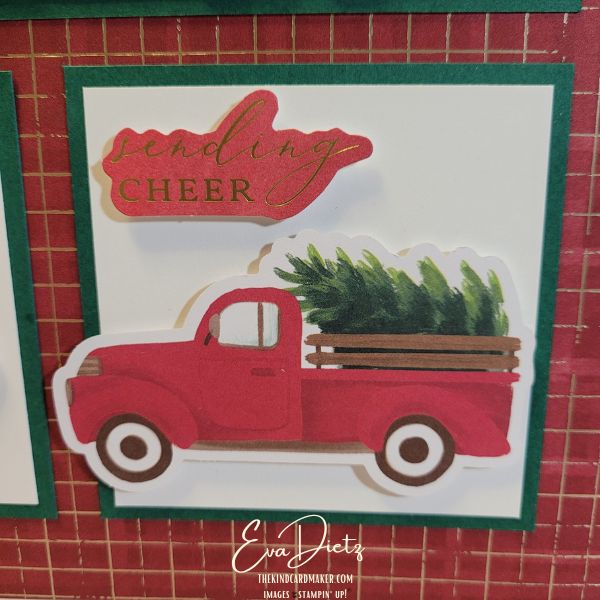
Looking for a creative way to add a personal touch to your holiday décor—or the perfect heartfelt gift? This easy-to-make 12″x12″ Christmas Sampler is bursting with festive charm and makes the season come alive in the coziest way! Featuring Stampin’ Up!’s stunning Joyful Sayings Ephemera and Joyful Images Ephemera, each square is packed with holiday cheer. From vintage reindeer and ornaments to warm mugs of cocoa and classic red trucks, there’s a story in every detail. The base layers of Regal Distressed Patterns Designer Series Paper create a rich, textured background, while pops of A Little Bit Festive Specialty Designer Series Paper add sparkle and elegance. Layered with Basic White and Shaded Spruce cardstock, the clean lines and crisp colors bring everything together beautifully.
Perfect For:
Displaying on your mantle or wall to bring festive vibes to your home this holiday season Gifting to friends and family who love and cherish meaningful, handmade treasures from you. Whether you’re a crafting newbie or a seasoned pro, this project is simple, fun, and oh-so-rewarding!
Stampin’ Up! Supply List:
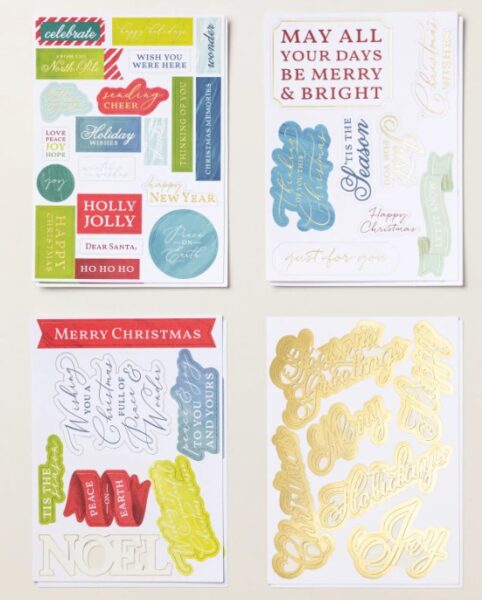
Joyful Sayings Ephemera #164109
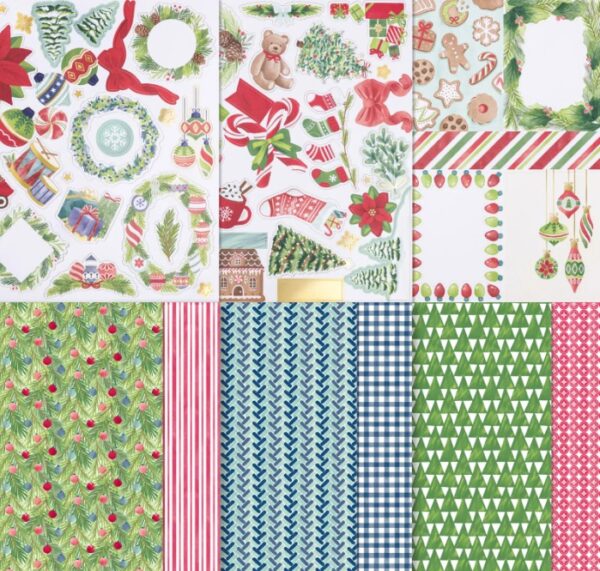
Joyful Images Ephemera #164110
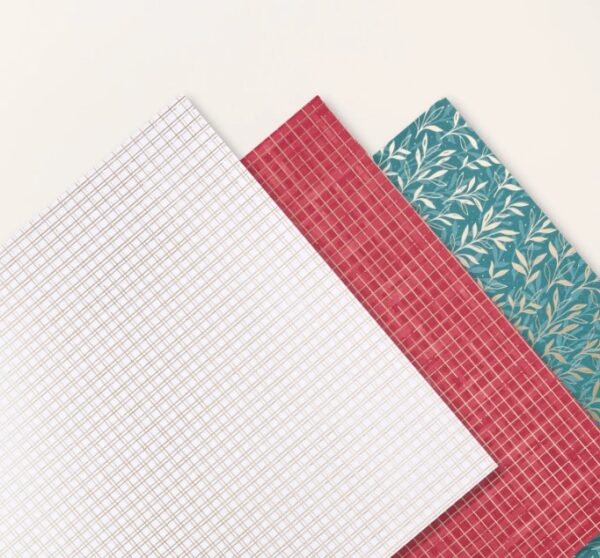
Regal Distressed Patterns Designer Series Paper #164037
A Little Festive Specialty Designer Series Paper #164107
Shaded Spruce Cardstock #102584
Basic White Cardstock #159276
Real Red & White Adhesive Backed Peppermints #164050
Retired Gold Thread Cord or substitute
Retired Red Rhinestones or substitute
Glue Dots #103683
Both sizes of Dimensionals #104430 & #144108
Stampin’ Seal adhesive #152813
Instructions:
Top and Bottom Rows – cut 6 Shaded Spruce 3 ¼” squares and 6 Basic White 3” Squares. Adhere together.
Middle Row – cut Shaded Spruce 10 1/2” x 3 ¼” and Basic White 10 ¼” x 3”. Adhere layers together.
Using the photo as reference assemble each scene with some pieces adhered flat & others raised on Dimensionals. For the reindeer & sleigh middle row, attach the 3 reindeer and sleigh all with Dimensionals. With a 30” piece of gold cord, start at the head reindeer and tie it around the neck & knot it, move to next deer & repeat twice, when reach sleigh cut a little slit in front & tuck reins in.
Once all the squares are done, make yourself a ¾” frame from the DSP white backing paper to allow for proper placement of finished scenes. Use paperclips at the 4 corners to hold onto DSP. Adhere corner squares first, then middle square, finish with middle row keeping all aligned.
Add Embellishments and stars with glue dots. Frame as desired, but I do recommend a shadow box frame.


0 Comments