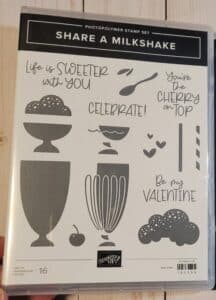
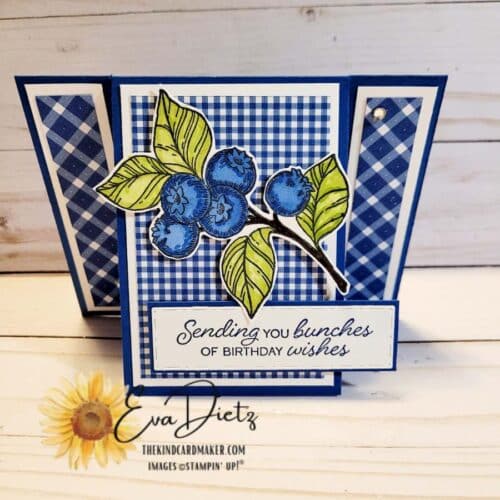
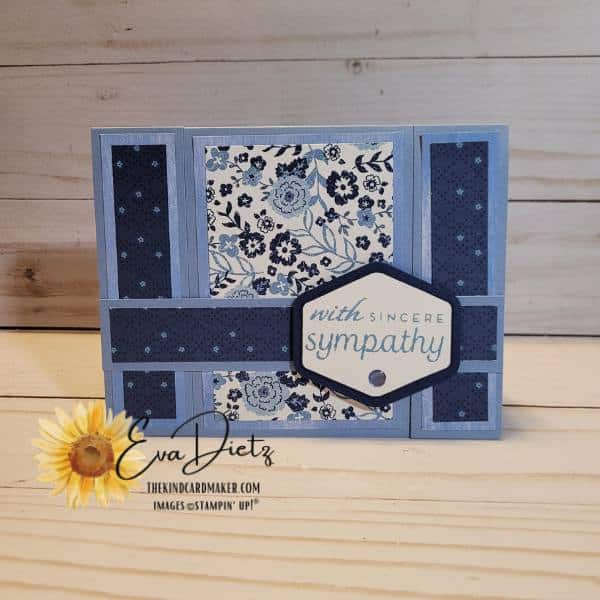
I was showing my husband the two cards I’d made recently with the Share a Milkshake Stamp Set – the Pretty Peacock Book Fun Fold Card and the Berry Burst/Bubble Bath Gate Fun Fold Card with Mega Belly Band, and he said, “Those look great, but what about a 4th of July card using this set?”
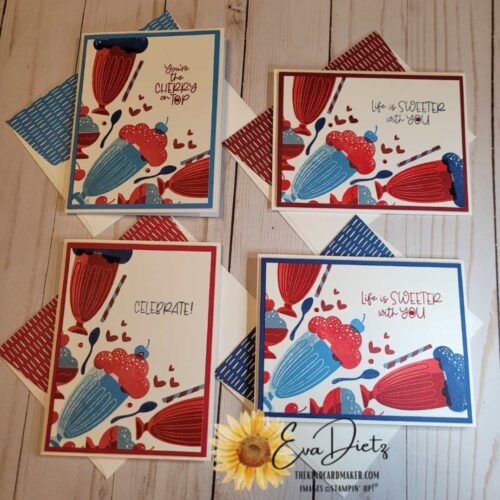
So, I took that as a personal challenge and wanted to see what I could fairly create quickly. Then the 4 piece One Sheet Wonder technique popped in my head. You can make four cards quickly from one sheet of 8 ½” x 11” Basic White Cardstock. Then I wondered what the cards would look like if I used the Share a Milkshake stamp set and some Patriotic ink colors. So, I decided to give it a try!
The other cool thing about this One Sheet Wonder technique is it only uses stamps, ink and paper (cardstock) which we, Stampin’ Up! Demonstrators call SIP cards. Yes, I did add some embellishments at the end, but you don’t have too. The nice thing about SIP cards is they lie flat and are easy to send through the mail. No postage due with these cards.
After I finished stamping the radiating design, I have to say I am very happy with how the finished cards look. I hope you’ll agree that it is worth trying this technique with any stamp set you own. Until trying it myself, I hadn’t seen this technique done in anything other than floral and greenery stamps.
Let’s Begin Making Our Own One Sheet Wonder Creation!
It is very easy to do this technique. Gather your 8 ½” x 11” Basic White Cardstock, a pencil, ruler, the ink colors you want to use, the stamp set and clear stamp blocks.
On the sheet of cardstock, you will make 2 tick marks on each long side at 5 ½” and repeat with 2 more tick marks on each short side at 4 ¼”. Connect the long side tick marks, then the short side tick marks with a lightly drawn pencil line creating four quadrants on the paper.
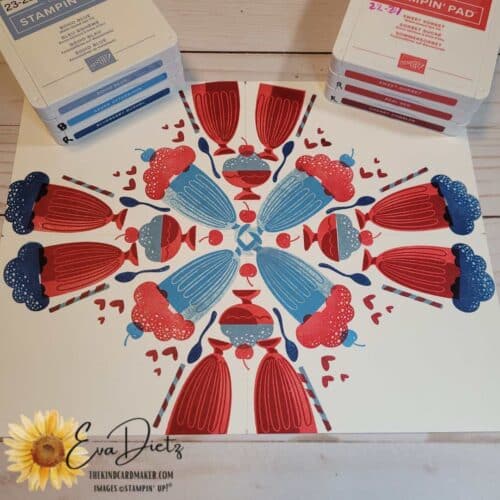
The ink colors I used were Real Red, Cherry Cobbler, and Sweet Sorbet for the reds. For the blues I used Boho Blue, Azure Afternoon, and Blueberry Bushel.
Using my photos as reference you will start at the intersection of lines in the middle of the Basic White cardstock, and stamp your images, some on each side of the lines and other images straddling the lines. Then each stamped image that follows will be stamped radiating out from the middle. I found I stamped better if I rotated the cardstock around the 4 quadrants so I could keep my hand and stamp in a comfortable position. This technique reminds me of a kaleidoscope that you might have looked through as a child.
Finishing Up Our One Sheet Wonder Cards:
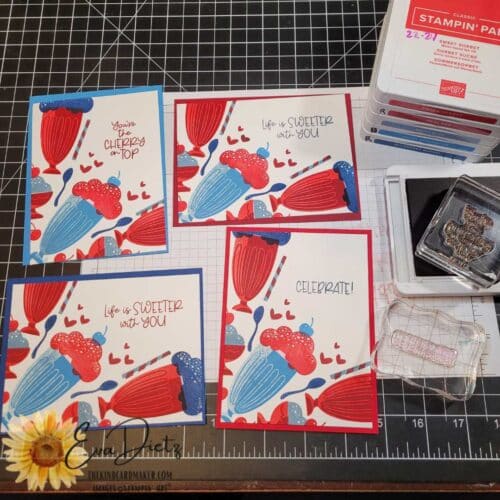
Following the stamping of the OSW, then you can prepare the rest of the cardstock needed. I needed four 5 ½” x 8 ½” Basic White card bases, scored at 4 ¼”. For the single colored layer, I used 4” x 5 ¼” pieces of Real Red, Cherry Cobbler, Azure Afternoon, and Blueberry Bushel.
Next you must cut your stamped OSW apart. Cut on the 2 pencil lines to make four pieces. Then I decided to trim off the outer edges to make the stamped layer pieces end up at 3 ¾” x 5”. By doing that, I maximized my stamped images and the design.
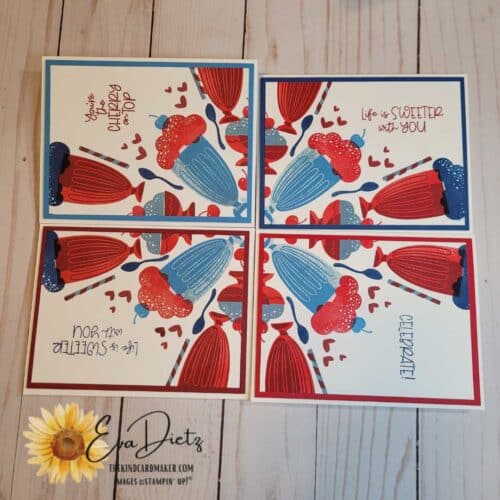
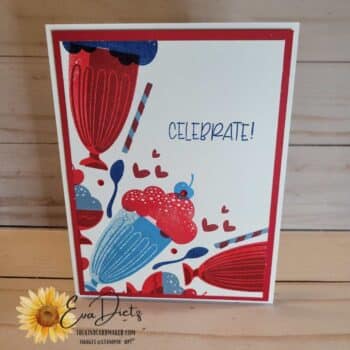
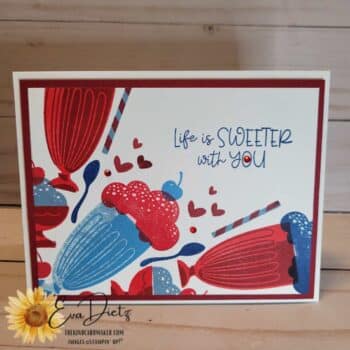
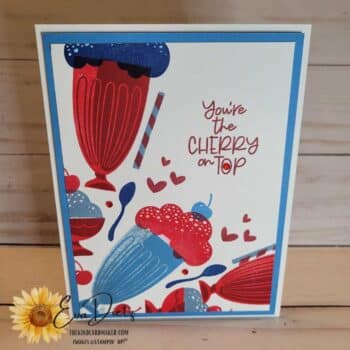
The next big decision to make is deciding how you want the cards to look when finished. Will you have vertical cards or horizontal cards? Which way will the stamped greeting you want to use look best? I tried holding my greeting stamp as I rotated the quarter sheet around until I liked how it looked. Then I stamped the greeting stamp in the contrasting ink color of the colored cardstock layer that be paired with that stamped layer. Even though I had 4 different layer colors, I only went with two inks – Cherry Cobbler and Blueberry Bushel. I decided those would look best.
Following the completion of the greeting stamping, it was time to assemble the layers. The stamped layer and colored cardstock layer are adhered together. Then they are raised up on Dimensionals before placing on the card base. Next, I decided to be brave and put a little Wink of Stella light glitter pen on my ice cream scoops. I found out quickly that the Wink of Stella did make the ice cream ink run just a little bit, but I liked how it could fill in the mini circles and if I had a gap of white showing at the top of the milkshake glass. I just love some bling on my cards, so I used retired Red Rhinestones to decorate the card fronts. On the inside of the cards, I stamped the little trio of hearts in Cherry Cobbler ink. They look so cute!
Last but not least is decorating your exterior Basic White Medium Envelope flap. I used both the Brights and Regals 6” x 6” Designer Series Paper stacks to coordinate a matching paper to the colored cardstock layer on each card. I like to cut my flap paper 2 3/8” x 6” to give me some wiggle room in case something moves as I am applying to the exterior flap. I trim all the excess off the flap with paper snips and TA-DA!
You too will be so proud of your One Sheet Wonder SIP cards and want to share them with your loved ones and dear friends.
Here’s some other fun card ideas using the Share a Milkshake Stamp Set:
This 4 card Patriotic One Sheet Wonder technique works great with the Shake a Milkshake stamp set. Making 4 cards are quick and easy. In the attached shopping list, you can uncheck any products you already have or click add all the cart and continue shopping for any other products you need. You’ll also need to have on hand your paper trimmer, clear stamp blocks, take your pick tool and adhesives, such as Stampin’ Seal.






0 Comments