A Handmade Card That Feels Like a Warm Hug
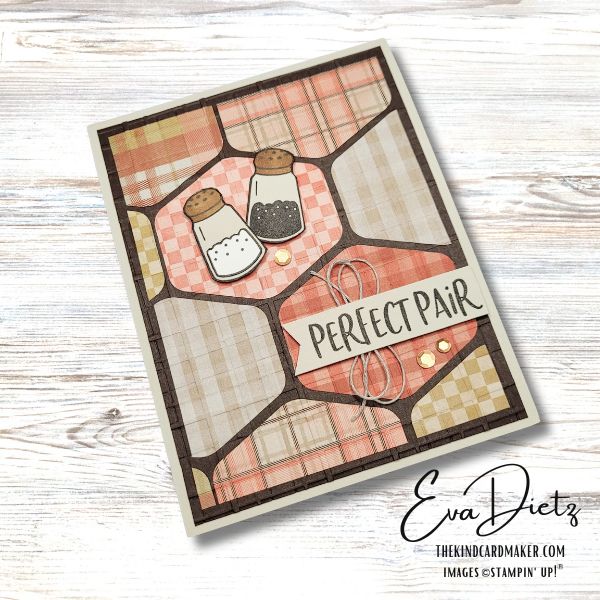
Handmade cards have a unique way of spreading joy and making the recipient feel special. This Plaid Hexagon Patterned Faux Quilted Card is a beautiful, rustic design with warm tones, a cozy quilt-like pattern, and adorable salt and pepper shakers that make it perfect for celebrating partnerships, friendships, and love. Whether you’re crafting for an anniversary, a wedding, or just to let someone know they’re the “perfect pair,” this card carries warmth, charm, and heartfelt sentiment.
The faux quilting technique used in this design brings texture and depth to the card, making it look intricate and high-end, while still being fun and relaxing to create. The process of arranging hexagons, embossing the layers, and adding little details like twine and sequins makes this card a joy to craft.
If you love working with patterned paper and textured designs, you’ll adore this tutorial. Let’s dive into the supplies and steps so you can recreate this card at home!

Supplies You’ll Need
To create this Plaid Hexagon Patterned Faux Quilted Card, gather the following materials:
Stamp Set
- Perfect Pairs
Cardstock & Designer Series Paper
- Basic Beige Cardstock: 4 1/4″ x 11″ (score at 5 1/2″ for card base)
- Early Espresso Cardstock: 4″ x 5 1/4″ (for layering)
- Timeless Plaid 6” x 6” Designer Series Paper (DSP): For 16 hexagons in orange and brown tones, and ½” x 3 ¾” (inner card layer piece)
- Basic Beige Cardstock (for stamping sentiment & images): 1 1/4″ x 3″ (for shakers) & 5/8″ x 2 3/4″ (for sentiment)
- Basic White Cardstock Scrap: For one additional stamped image of the salt in the salt shaker
- Pumpkin Pie Cardstock: 4″ x 5 1/4″ (inner card layer)
Tools
- Paper Trimmer
- Bone Folder
- Heartfelt Hexagon Punch
- Clear Acrylic Stamp Block H
- Forever Plaid 3D Embossing Folder
- Cut & Emboss Machine
- Paper Snips
- Take Your Pick Tool
Inks & Markers
- Early Espresso Ink Pad
- Light Pecan Pie Stampin’ Blends Alcohol Marker (for coloring the shaker caps)
- Early Espresso Stampin’ Write Marker (for finishing stamped image edges)
Adhesives & Embellishments
- Stampin’ Seal Adhesive
- Multipurpose Liquid Glue
- Dimensionals & Mini Dimensionals (to create depth with the salt & pepper shakers, and tag)
- Linen Thread (12” for bow detail)
- Neutrals Adhesive-Backed Sequins (3 copper)
Step-By-Step Instructions
1. Prepare the Card Base
- Cut and score the Basic Beige cardstock to create a top-folding card base. Burnish fold with Bone Folder
2. Create the Hexagon Quilt Pattern
- Using the Heartfelt Hexagon Punch, punch out approximately 10 hexagons from the Timeless Plaid DSP in orange and brown tones.
- On the Early Espresso Layer, arrange the hexagons as follows: The first hexagon goes where the perfect pair tag will be placed because you want the right-side edge of the hexagon to create the 1/8” margin on the Early Espresso layer. The second hexagon goes in the location of where the salt and pepper shakers will be placed allowing for a 3/32” space between each hexagon.
- Then you will continue to adhere hexagons as shown in the photo, trimming them with your paper trimmer as needed to create the 1/8” margin all along the Early Espresso layer edges, trying to be consistent in your margin spacing.
3. Emboss the Layer for a Quilted Look
- Once all hexagons are adhered, place the Early Espresso/Plaid layer inside the Forever Plaid 3D Embossing Folder and align the lines of the plaid paper with the plaid lines of the folder so all will be straight and square.
- Run it through your die-cut machine to create a faux quilted texture.
- Adhere the embossed layer to the Basic Beigt card base.
4. Stamp and Color the Salt & Pepper Shakers
- On a Basic Beige strip (1 1/4” x 3”), use Clear Block H to stamp the salt and pepper shakers using Early Espresso ink.
- Fussy cut the two shakers out.
- Use a Light Pecan Pie Stampin’ Blends Marker to color the shaker caps.
- With an Early Espresso Stampin’ Write Marker (using the brush end), carefully run the brush at a 90-degree angle around the entire cut edge of the shakers to give them a finished look.
- Stamp the salt shaker again on Basic White scrap using Early Espresso ink. Fussy cut only the salt portion, do the edge technique with the marker as noted above. Adhere the salt on top of the original image for a dimensional effect.
- Use Dimensionals and Mini Dimensionals to adhere the shakers onto the card front as shown in photo.
5. Create the Sentiment Tag
- Cut a Basic Beige strip (5/8” x 2 3/4”) and stamp the words “Perfect Pair” in Early Espresso ink.
- Cut a shallow banner end on the left side for added interest.
- On the reverse side of the tag, place a strip of Stampin’ Seal. Loop 12” of Linen Thread on the adhesive to create a bow look. Be sure to press the thread onto the adhesive well.
- Trim any excess thread ends.
- Use Dimensionals to attach the sentiment tag to the card front, aligning it with the edge of the Early Espresso layer.
6. Add the Finishing Touches
- Adhere three copper sequins from the Neutrals Adhesive-Backed Sequins pack as shown in the photo.
Bonus: Decorating the Inner Card & Envelope Flap
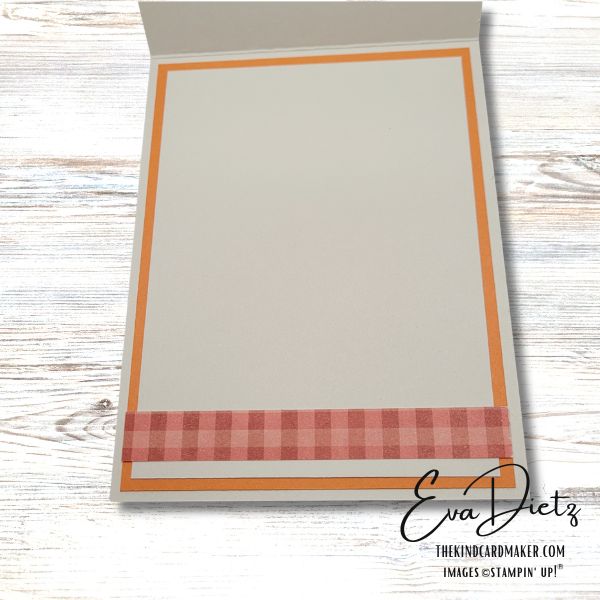
A card feels even more special when the inside and envelope are decorated!
Inner Card Layers
- Adhere Pumpkin Pie layer (4” x 5 1/4”) to the inside of the card.
- Adhere a Basic Beige layer (3 3/4” x 5”) on top.
- Adhere the strip of Timeless Plaid DSP (1/2” x 3 3/4”) along the bottom edge for a coordinated look.
Envelope Flap Decoration
- Take the remaining six hexagons punched from the Timeless Plaid DSP.
- With Multipurpose Liquid Glue start by adhering half of the center hexagon so some hangs over the top of the card at the fold line. Repeat with the next two hexagons so you have the top row by the flap fold done. Then position the lower two hexagons, finishing with the last hexagon being cut in half and a small portion is glued in each remaining lower flap corner.
- Once fully dry, trim off any excess paper using paper snips.

Tips for a Smoother Crafting Experience
- Align your hexagons carefully before adhering to ensure an even quilted effect.
- Use liquid glue for positioning flexibility when adhering small hexagons.
- Emboss after adhering the hexagons to create a unified, stitched-like look.
- Edge all fussy-cut images with a marker for a professional finish.
Easy Shopping Links
Product List![Basic Beige 8 1/2" X 11" Cardstock [ 164511 ]](https://assets1.tamsnetwork.com/images/EC042017NF/164511s.jpg "Basic Beige 8 1/2\" X 11\" Cardstock [ 164511 ]") | ![Heartfelt Hexagon Punch [ 162888 ]](https://assets1.tamsnetwork.com/images/EC042017NF/162888s.jpg "Heartfelt Hexagon Punch [ 162888 ]") | ![Forever Plaid 3 D Embossing Folder [ 164049 ]](https://assets1.tamsnetwork.com/images/EC042017NF/164049s.jpg "Forever Plaid 3 D Embossing Folder [ 164049 ]") | ||
![Neutrals Stampin' Write Markers [ 161697 ]](https://assets1.tamsnetwork.com/images/EC042017NF/161697s.jpg "Neutrals Stampin' Write Markers [ 161697 ]") | ![Pumpkin Pie 8-1/2" X 11" Cardstock [ 105117 ]](https://assets1.tamsnetwork.com/images/EC042017NF/105117s.jpg "Pumpkin Pie 8-1/2\" X 11\" Cardstock [ 105117 ]") | ![Natural Tones Linen Thread [ 164071 ]](https://assets1.tamsnetwork.com/images/EC042017NF/164071s.jpg "Natural Tones Linen Thread [ 164071 ]") | ||
![Basic White Medium Envelopes [ 159236 ]](https://assets1.tamsnetwork.com/images/EC042017NF/159236s.jpg "Basic White Medium Envelopes [ 159236 ]") |
![Early Espresso 8-1/2" X 11" Cardstock [ 119686 ]](https://assets1.tamsnetwork.com/images/EC042017NF/119686s.jpg "Early Espresso 8-1/2\" X 11\" Cardstock [ 119686 ]")
![Timeless Plaid 6" X 6" (15.2 X 15.2 Cm) Designer Series Paper [ 164678 ]](https://assets1.tamsnetwork.com/images/EC042017NF/164678s.jpg "Timeless Plaid 6\" X 6\" (15.2 X 15.2 Cm) Designer Series Paper [ 164678 ]")
![Early Espresso Classic Stampin' Pad [ 147114 ]](https://assets1.tamsnetwork.com/images/EC042017NF/147114s.jpg "Early Espresso Classic Stampin' Pad [ 147114 ]")
![Pecan Pie Stampin’ Blends Combo Pack [ 161674 ]](https://assets1.tamsnetwork.com/images/EC042017NF/161674s.jpg "Pecan Pie Stampin’ Blends Combo Pack [ 161674 ]")
![Neutrals Adhesive Backed Sequins [ 161627 ]](https://assets1.tamsnetwork.com/images/EC042017NF/161627s.jpg "Neutrals Adhesive Backed Sequins [ 161627 ]")
Sharing Kindness with a Handmade Card
This Plaid Hexagon Patterned Faux Quilted Card is more than just a piece of paper—it’s a heartfelt token of appreciation and love. Handmade cards have a way of brightening someone’s day, making them feel thought of and cherished. Whether you send it to a friend, partner, or family member, this rustic, cozy design will bring a smile to their face.
Crafting is a beautiful way to spread joy and kindness—who will you send this card to?
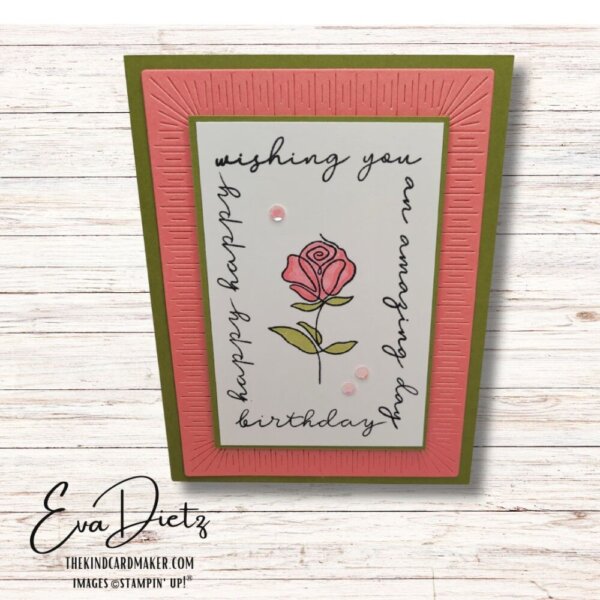
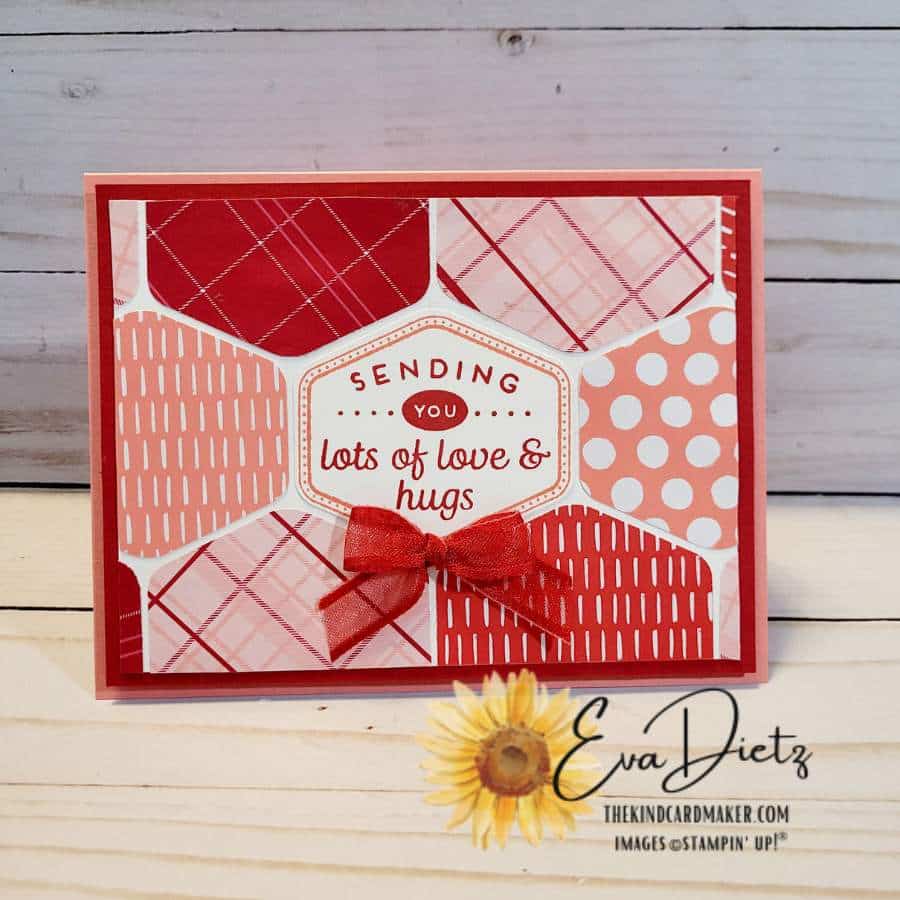
If you’d like to explore more similar projects, click here or here.
Thanks for stopping by today!


0 Comments